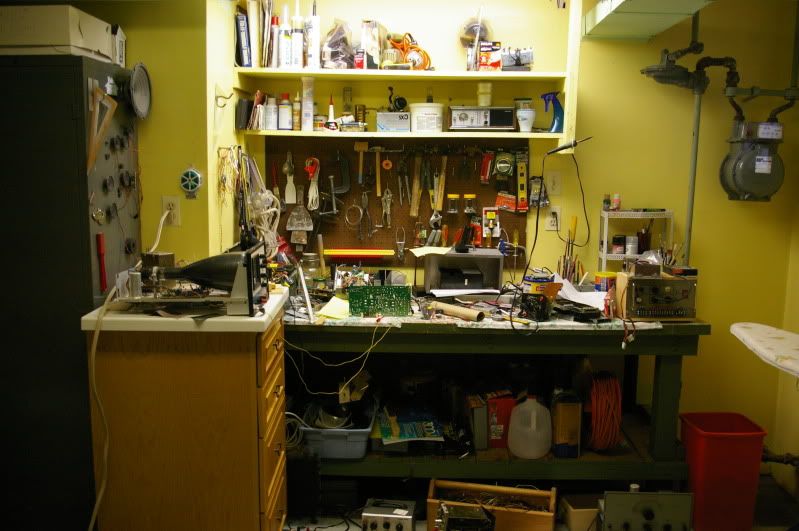
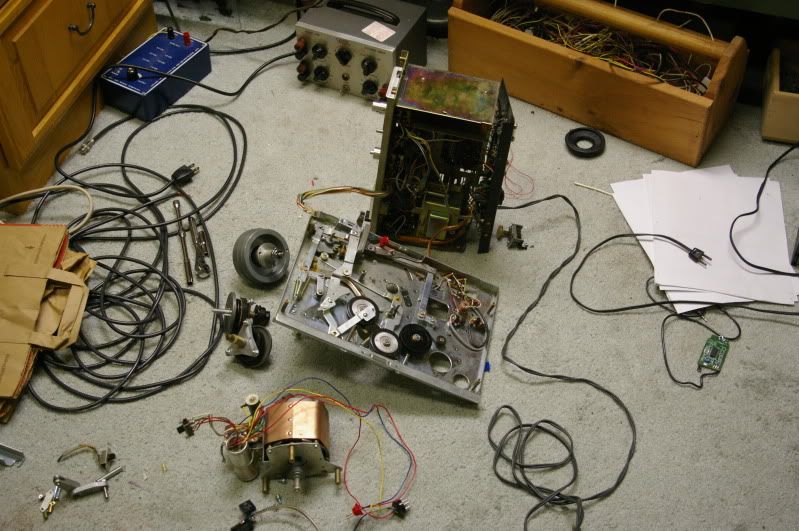
So, I know I said I was going to clean up my workbench, which I did, but it is now covered with whatever I was working on on the floor. It is now covered mainly with the innards of the Akai deck. And it's a wreck again. I don't have any new pictures as of yet, but since I haven't been providing any new posts, I thought I would at least do a quick update.
What has been consuming my mind the past week has been gearing up for a recording session. A friend of mine has a band and I have volunteered to record them. This requires me purchasing and building some equipment. The main things I need are more microphones, more cables, possibly a snake and a mixing console. I have been spending many hours with excel spreadsheets trying to figure out the best way to make all of this at the lowest price. Luckily for me, the cheapest priced XLR ends at allelectronics.com are the switchcraft type, which is highly unusual but awesome because they just look SO COOL. Currently you can make a 20ft XLR extension cable for $10.90, but they sell a pre-made one for $8.50. I don't know if the quality would be the same, but as of now I am in a bit of a bind with those.
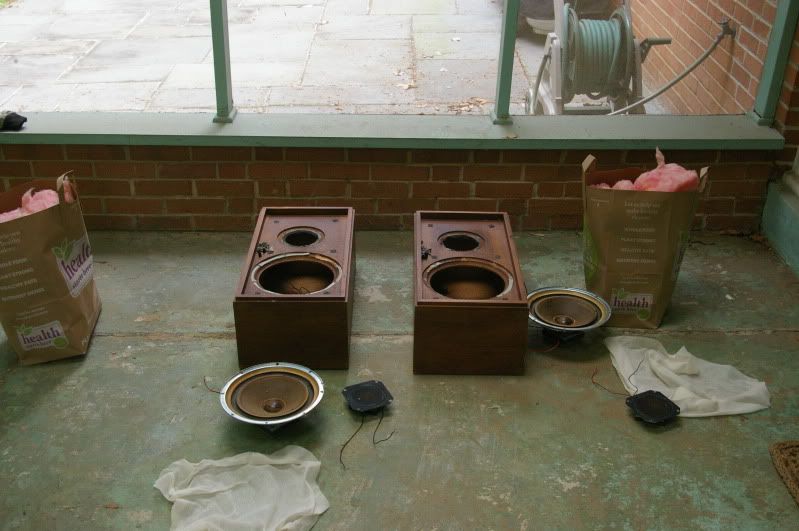
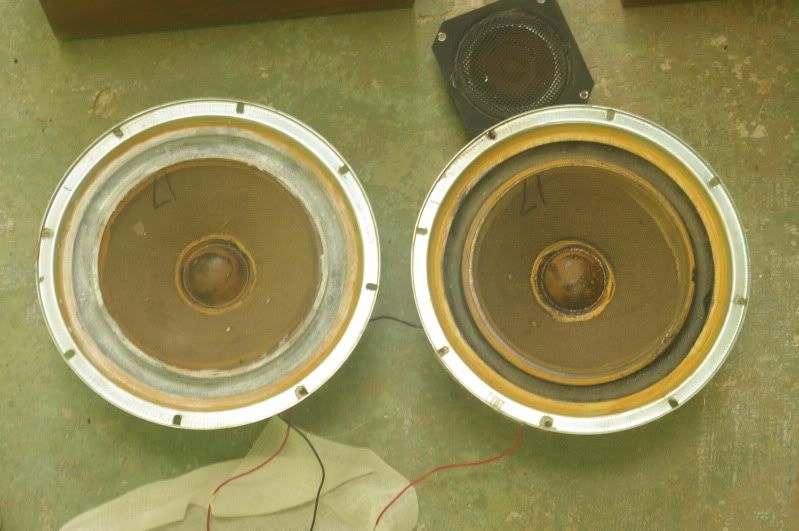
Microphones are more interesting. I have two beat Electro-Voice RE-15s and a 635a, but I would like some condenser microphones to use as well. I've heard that the elements that you can pick up at radio shack aren't bad and give some pretty good response, so I am going to try working with those a bit. The other thing I have been experimenting with is using speakers as elements. I had set up one speaker a while ago to use in this fashion, but it was very tinny. However, while testing it recently I decided to see what the ones out of the Akai sounded like and hooked them up. They actually sounded superb, kind of rough but not really airy like the other one. So I have two winners. I also grabbed a couple of high horns that I had lying around and they sounded good too, at least for giving a high end to the sound. The way I see it is that they are operating exactly as they would as if in a speaker, good for what they were designed for, which shouldn't really be surprising. So I currently have 3-4 speaker microphones to build and I'm looking to build 4 condenser microphones.
As for the mixer, I just bought one. I looked into building one and it looked like I might be able to keep it around $100, but in the end I decided to pay a little more (well, twice) to spare myself a long process of building something that I don't have much experience making and that I need somewhat soon. The mixer that I bought is a Mackie 1402 VLZ. It's a 14 channel (really 10) mixer with 6 XLR inputs and 4 stereo 1/4" inputs. What's good about this mixer is that I am familiar with it, know that it's good and it's ready as soon as it arrives. It's also brand new and came with a custom case! The only downside is the XLR inputs. There are only 6 of them. My plan was to use 7. Oh well. Maybe the condenser microphones will come out a little hot and I can plug them into a line-level input. We'll see. It's either that or probably DI the bass.
Now that the mixer is out of the way, the only hard part becomes the cables and snake. To get some good separation, I want to be somewhat far away from them performing. This either requires me making 7 really long cables or making a snake. Currently, to make new, long cables it would cost twice as much as making a snake with a multi-core cable. However, the only multi-core cable I have is a long (~30ft) unshielded cable I found that was used for phone lines. I have been toying with the possibility of using this unshielded, but I need to do more tests first. I also toyed with making it a phone-phone snake because it would be cheaper and would allow me to ground all the wires of the unused lines using jacks with switches in them. However, I would NEVER be able to use it with phantom power, which wasn't a problem until now, seeing that I have just bought a mixer that can supply phantom power.
Experimenting with the cable the other night, I could only get a good sound out of it with the cold lead shorted to ground and still picked up the local AM radio station. We'll see. It may also just be easier to bundle a bunch of cables together with tape. It will cost a bit, but at least it will work better. A 20' 8-core snake would cost ~$52 with regular mic cable. With ends it's $72. Bundling AllElec's pre-made cables together costs $68. Although at these prices I may as well buy the ones on eBay going for $40. However, If I can get the multi-core cable I have to work, I can make it for $22 not including the wrapping for the loose ends on the mixer side.
But enough of that.
Following is the status of projects that I have previously reported on:
Panasonic WV-V3-
Still misaligned. I temporarily fixed the manual iris control and tried getting the light levels up pretty high to do an alignment. However, I couldn't provide enough light and the temporary knob broke off (not the right screw to hold it). I am waiting for a day where there is a lot of sun out so that I can use it to bathe the test chart. I worry that the adjustments I made to it put it in a place where it can't align itself because it's too far off to compensate. A manual costs $50. I don't even know if this camera is still worth that.
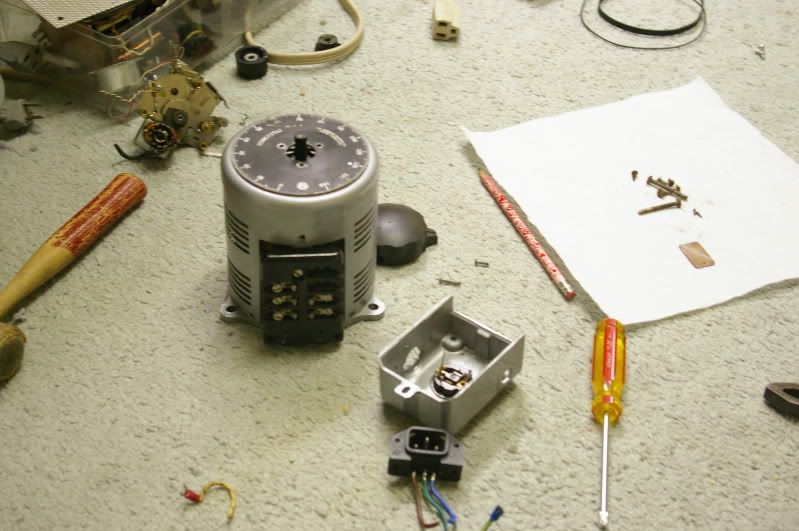
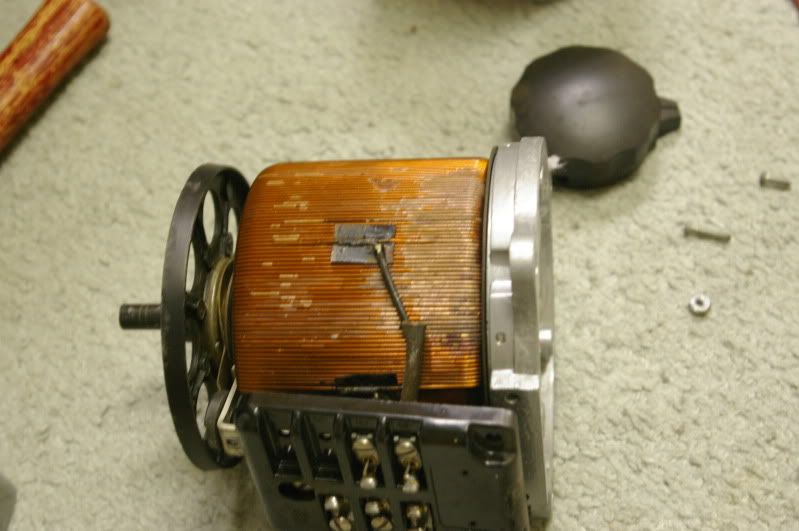
Variac-
I haven't worked on this much at all. The main thing holding me up is that I need to buy a power switch. Once I have that I can wire it up and then finally test it out. This isn't really worrying me, I'm just waiting until I can buy a bunch of things at once from probably AllElectronics.com ($7.00 flat rate shipping can be difficult sometimes).
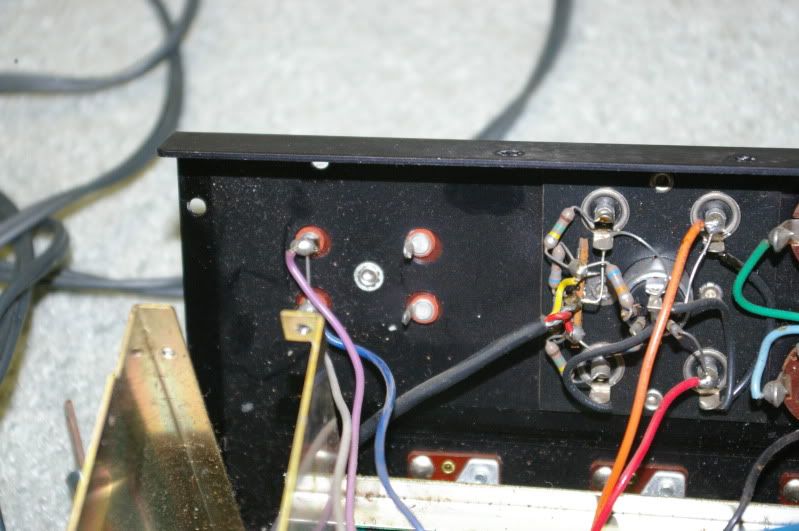
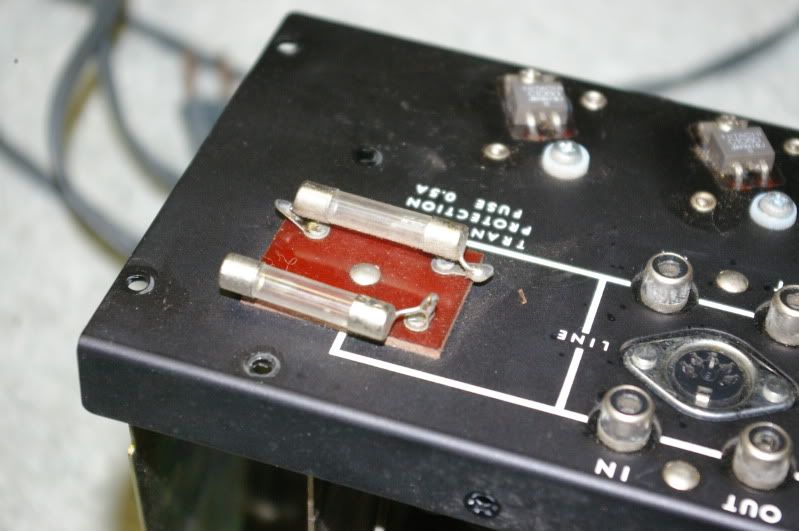
Akai X-1800-
When I took it apart I finally found out what was probably the problem with it. The head amplifier sits on a card that plugs into a mainboard along the bottom of the electronics package. One of the sides of the edge-plug, the one that holds the card to its contacts, had broken off, possibly causing broken connections. Oh well, I have another open-reel deck.
The parts are still littering my workbench. I'll probably salvage all of the mechanical bits that I need and then put the rest into the scrap bin. The bits will then probably just sit in the videocorder's case for the time while I deal with recording the band.